PyCharm 安装教程(Windows)
PyCharm 是一款功能强大的 Python 编辑器,具有跨平台性,鉴于目前最新版 PyCharm 使用教程较少,为了节约时间,来介绍一下 PyCharm 在 Windows下是如何安装的。
这是 PyCharm 的下载地址:http://www.jetbrains.com/pycharm/download/#section=windows
进入该网站后,我们会看到如下界面:
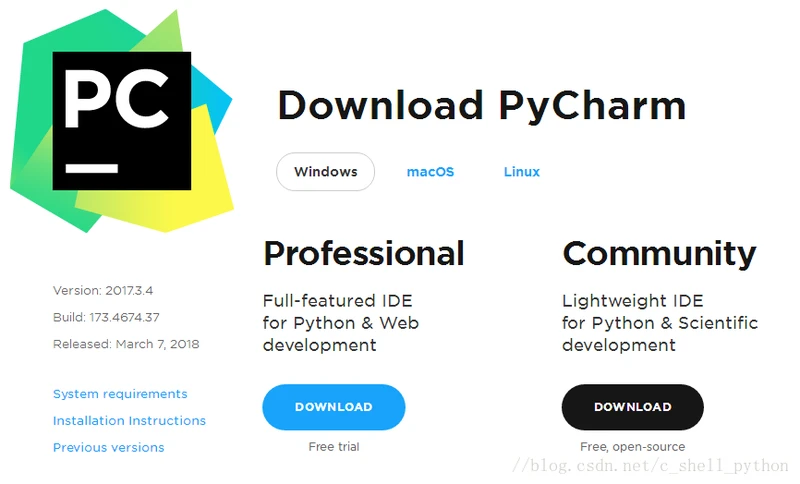
professional 表示专业版,community 是社区版,推荐安装社区版,因为是免费使用的。
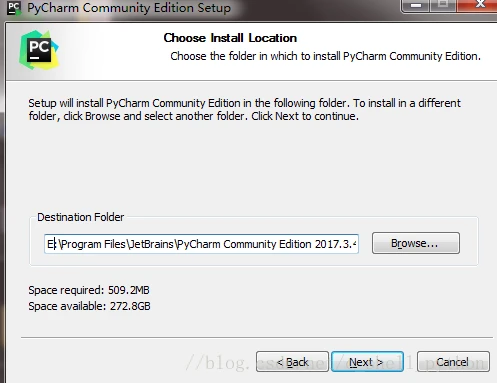
1、当下载好以后,点击安装,记得修改安装路径,我这里放的是E盘,修改好以后,Next
2、接下来是
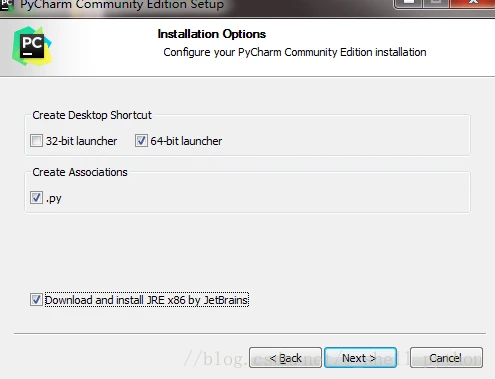
我们可以根据自己的电脑选择32位还是64位,目前应该基本都是64位系统吧
3、如下
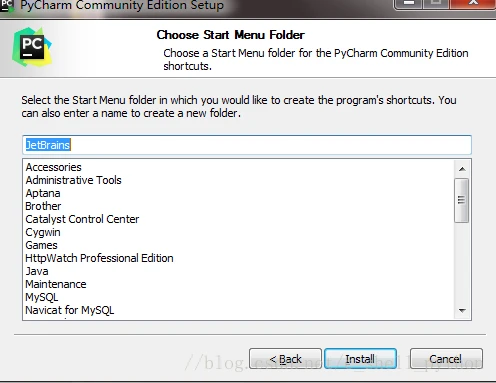
点击Install,然后就是静静的等待安装了。如果我们之前没有下载有Python解释器的话,在等待安装的时间我们得去下载python解释器,不然pycharm只是一副没有灵魂的驱壳
4、进入python官方网站://www.python.org/
点击Downloads,进入选择下载界面
5、如下所示,选择我们需要的python版本号,点击Download
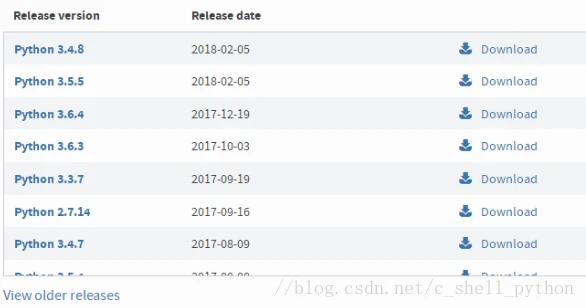
6、我选择的是python3.5.1,会看到如下界面
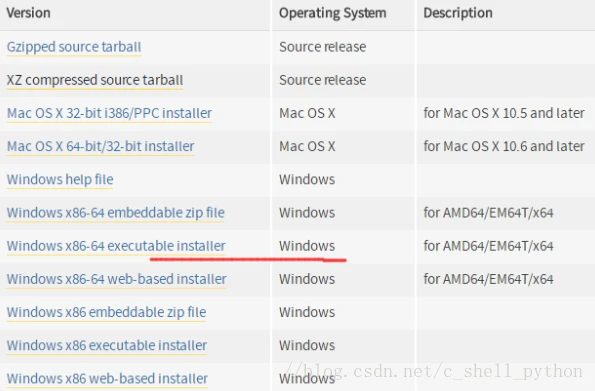
因为我们需要用到的是Windows下的解释器,所以在Operating System中可以选择对应的Windows版本,有64位和32位可以选择,我选择的是画红线的这个,executable表示可执行版,需要安装后使用,embeddable表示嵌入版,就是解压以后就可以使用的版本。
可执行版安装比较简单,一直默认就好了。embeddable需要注意,当我们解压

这个也是需要解压到同一路径的,这里面放着pip、setuptools等工具,如果不解压,我们将无法在pycharm中更新模块,比如需要用到pymysql,就无法下载。虽然也能用,但是就是"阉割版"的python解释器了。
如果是embeddable版,记得把解释器所在的路径添加到环境变量里,不然pycharm无法自动获得解释器位置。
7、添加环境变量
(1)右键我的电脑,点击属性,弹出如下界面

(2)点击高级系统设置,出现下图
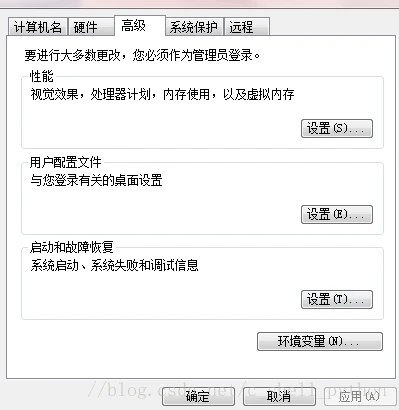
(3)点击环境变量
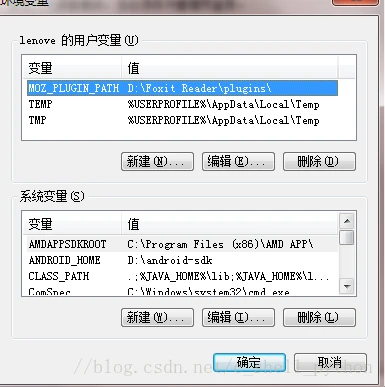
(4)找到系统变量里面的Path,编辑它,将python解释器所在路径粘贴到最后面,再加个分号。

环境变量配置结束
8、这时候Pycharm也装好了,我们进入该软件。
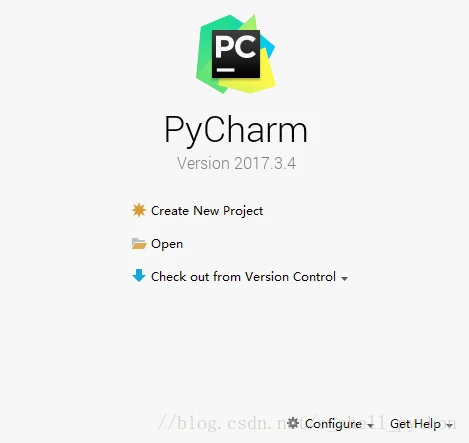
9、点击Create New Project,接下来是重点
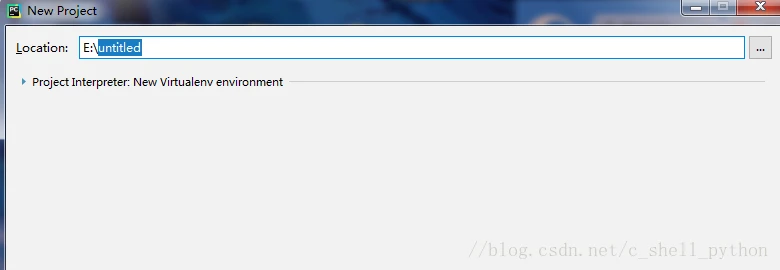
Location是我们存放工程的路径,点击

这个三角符号,可以看到pycharm已经自动获取了Python 3.5。
点击第一个

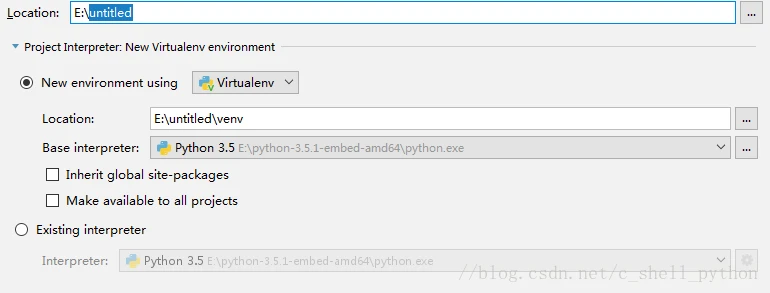
我们可以选择Location的路径,比如
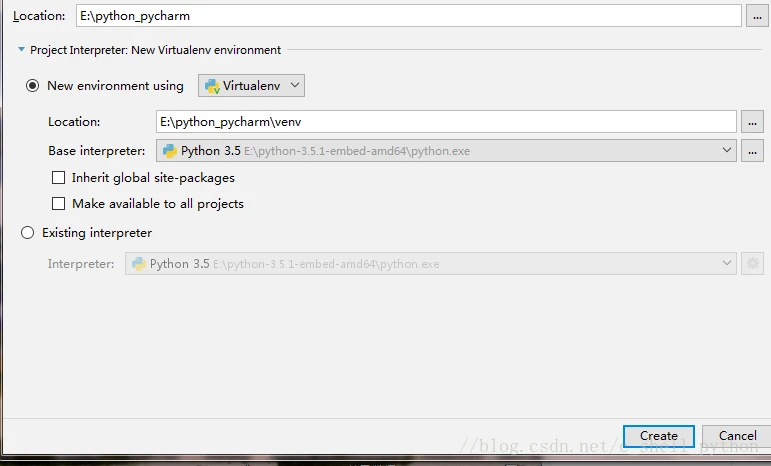
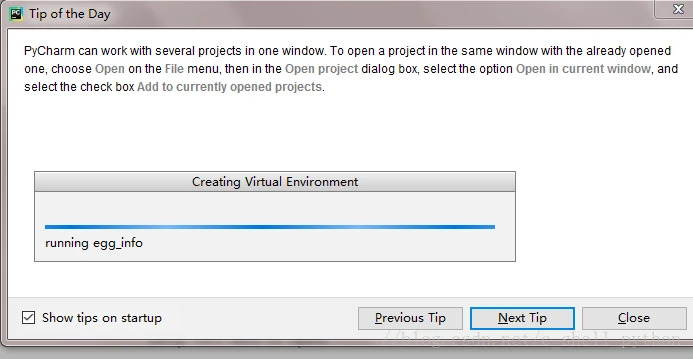
记住,我们选择的路径需要为空,不然无法创建,第二个Location不用动它,是自动默认的,其余不用点,然后点击Create。出现如下界面,这是Pycharm在配置环境,静静等待。最后点击close关掉提示就好了。
10、建立编译环境
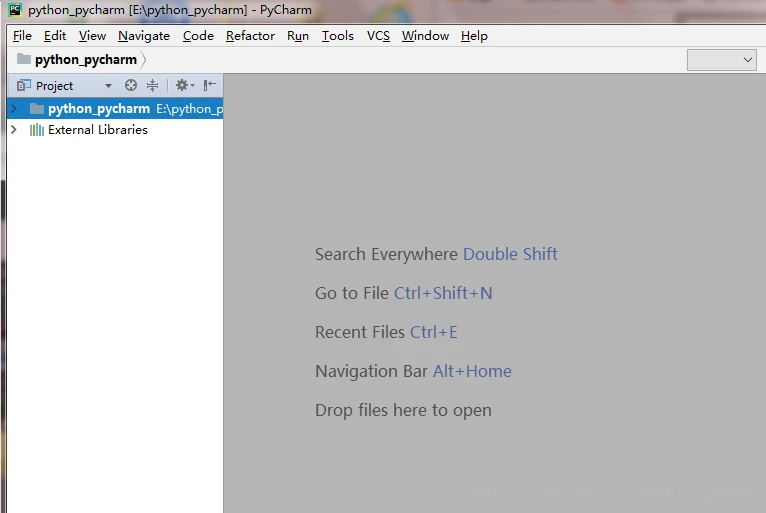
右键

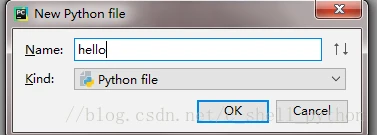
点击New,选择Python File
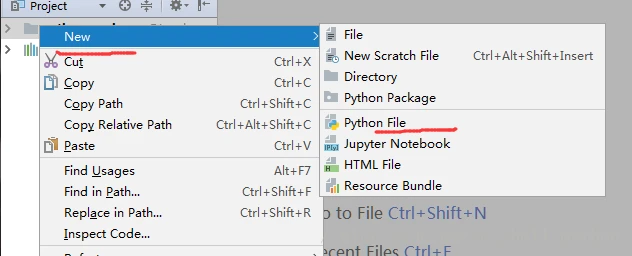
给file取个名字,点击OK
系统会默认生成hello.py
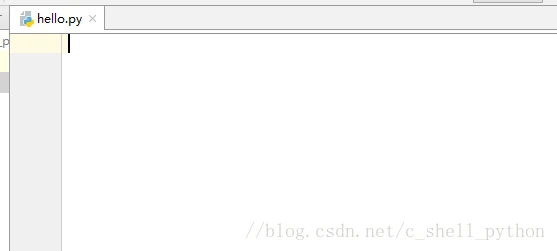
好了,至此,我们的初始工作基本完成。
11、我们来编译一下
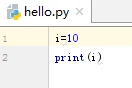
快捷键ctrl+shift+F10或者点击

绿色三角形,就会编译,编译结果如下

12、对了,因为我之前已经添加过了,所以可以直接编译,还有很重要的一步没说,不然pycharm无法找到解释器,将无法编译。
点击File,选择settings,点击

添加解释器

最后点击Apply。等待系统配置。
如果我们需要添加新的模块,点击绿色+号

然后直接搜索pymysql

然后点安装
以上就是pycharm的安装过程以及初始化,还有Python解释器的安装配置。
原文链接:https://blog.csdn.net/c_shell_python/article/details/