PyCharm免费安装教程 win11
一、资源获取
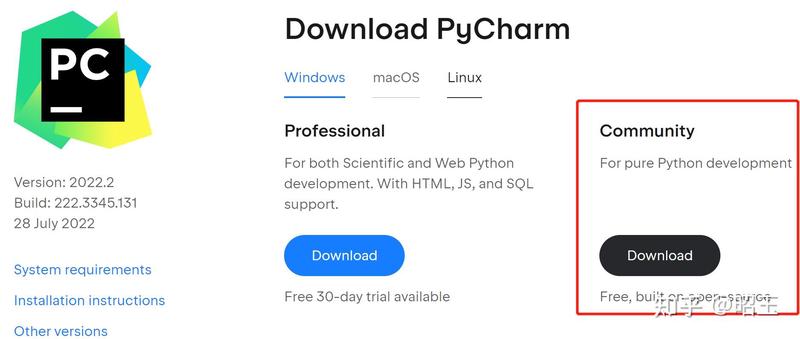
免费资源下载地址:https://www.jetbrains.com/pycharm/
资源版本:windows pycharm-community-2022.2
注意:社区版为免费版本,即专业版的删减版本,被删减的功能包括web应用开发、phthon web 框架、python的探查、远程开发能力、数据库和SQL支持。

二、PyCharm安装
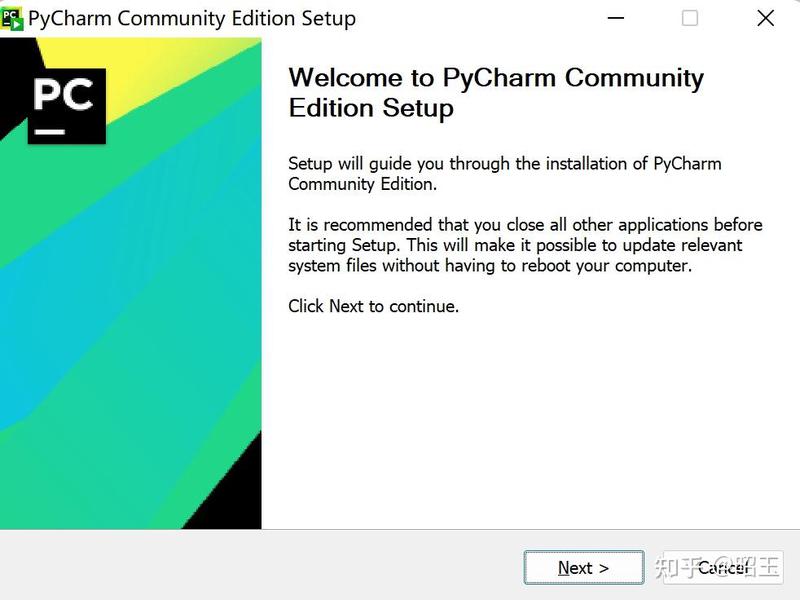
1.双击运行应用程序,启动安装过程。点击下一步。
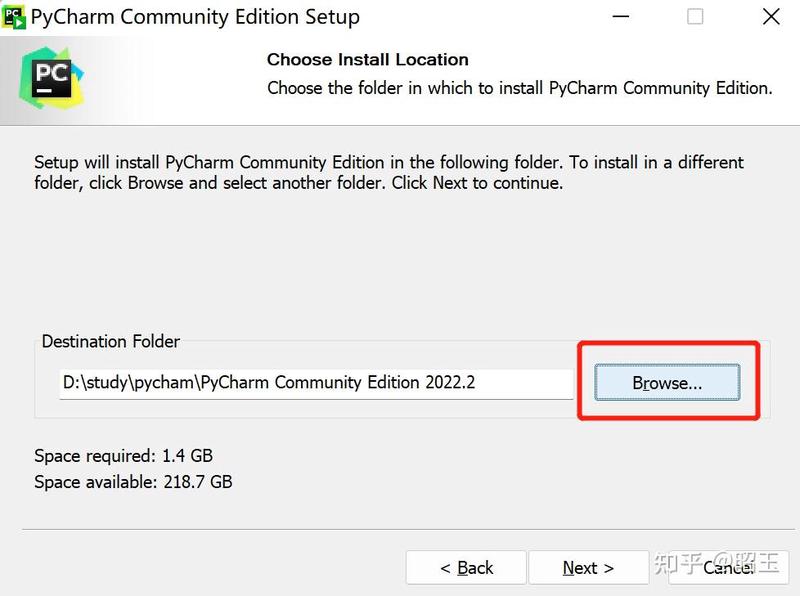
2.点击“Browse”自行选择安装目录,点击下一步。
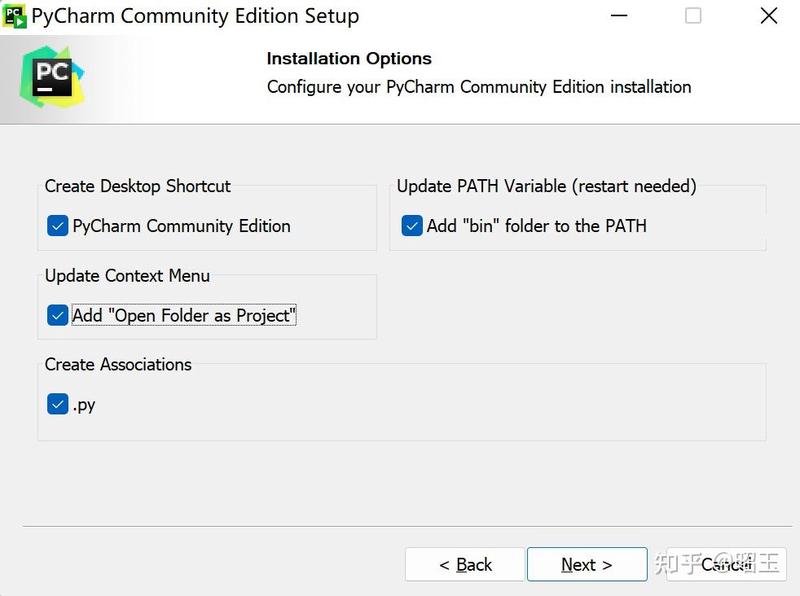
3.选择安装选项,包括创建桌面快捷启动图标、更新环境变量、更新背景菜单、设定文件关联(.py),根据需要勾选即可。点击下一步。
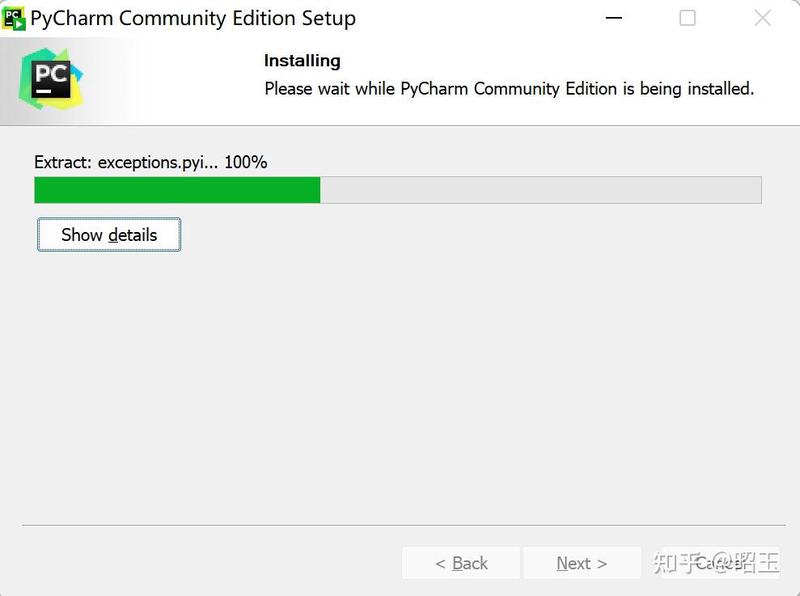
4.选择“开始”菜单文件夹,点击“install”安装。
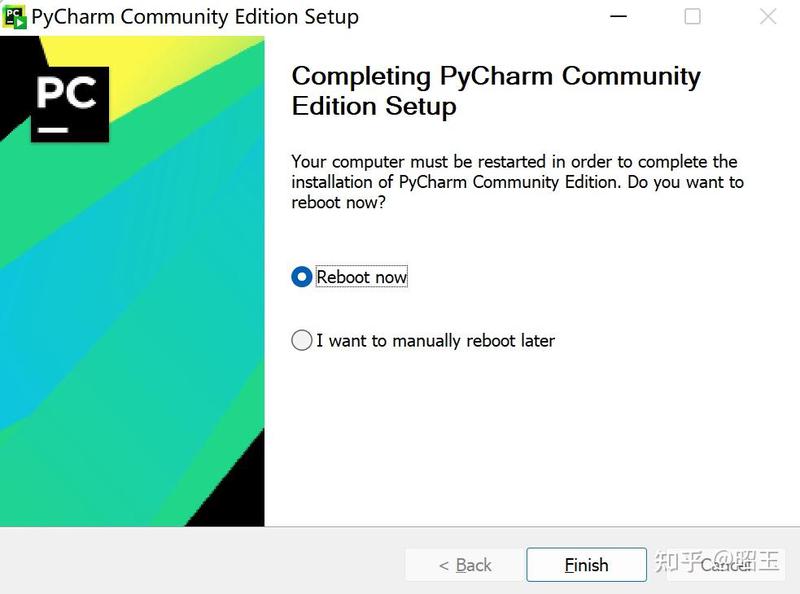
5.选择是否马上重启系统,点击“finish”完成安装。
三、初始化设置
1.设置入口
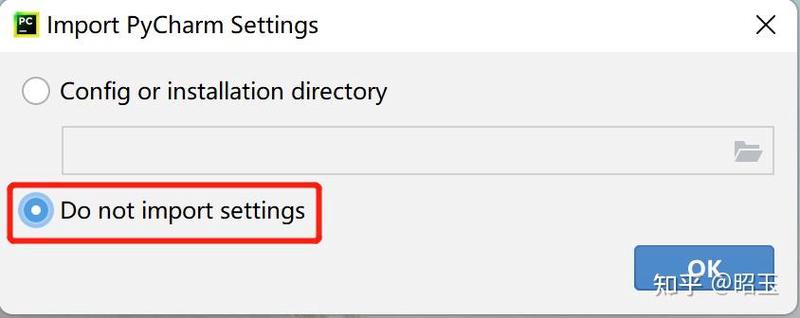
双击pycharm桌面图标,打开后弹出导入设置窗口,选择“Do not import settings",点击”ok“。
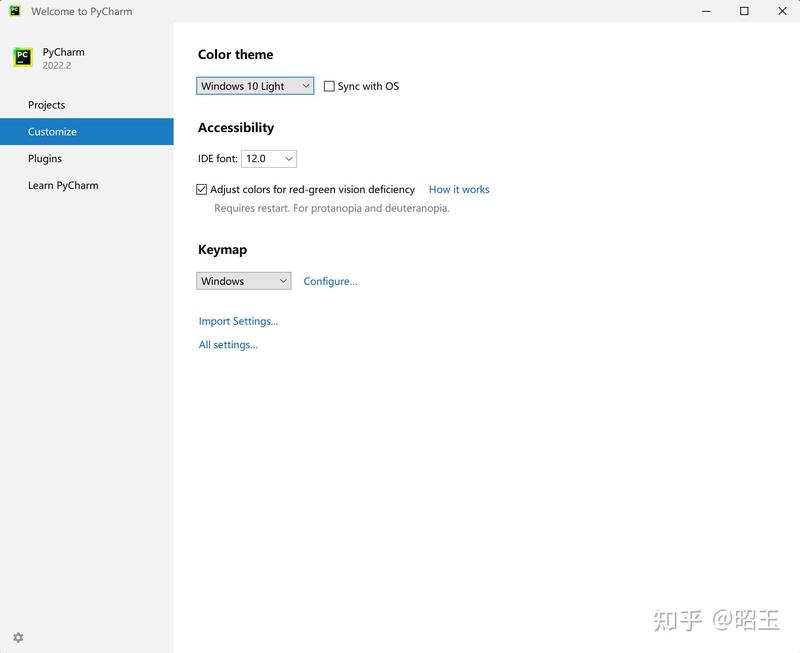
2.进入pycharm初始化界面,左侧边栏分别是文件、自定义、插件和学习Pycharm。选择customize设置主题颜色、字体等。
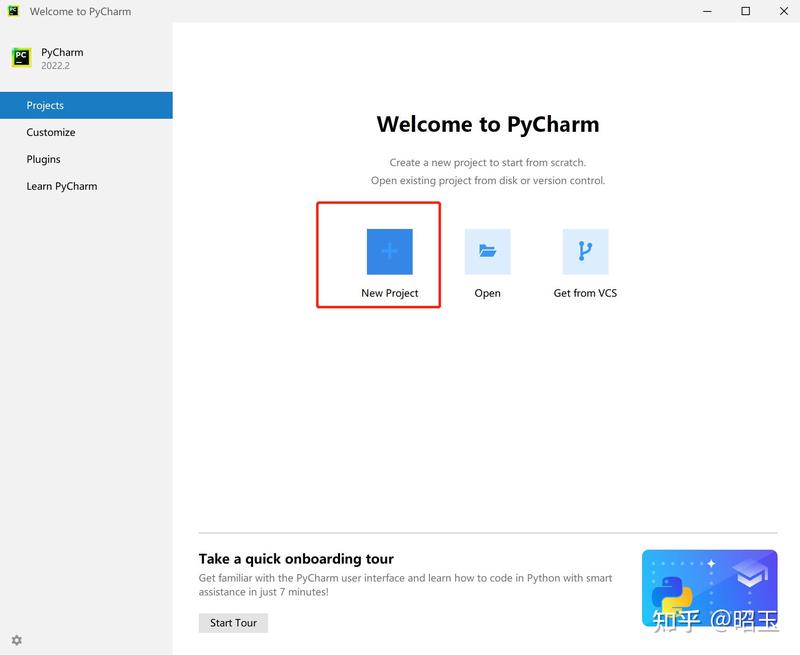
3.点击文件,点击”New Project”新建文件。
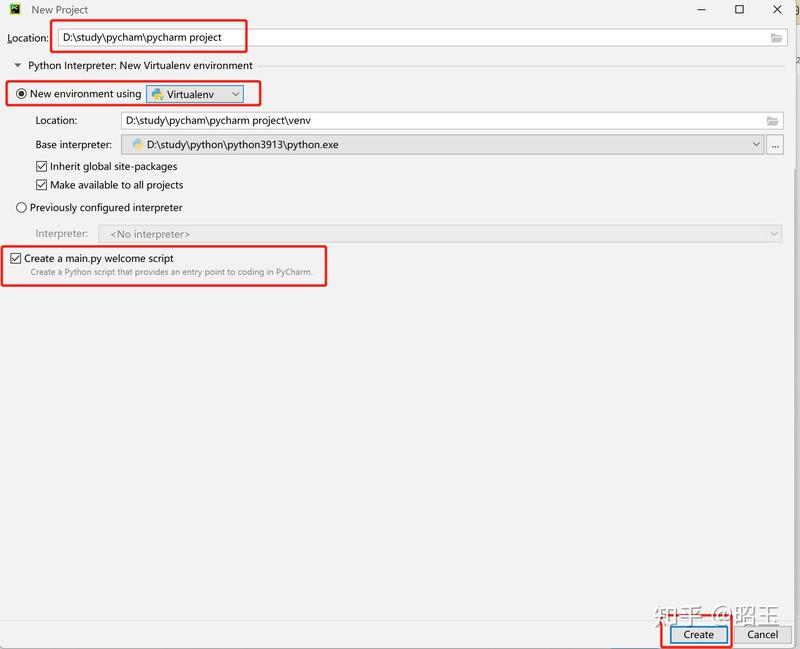
4.选择存储路径以及配置新的虚拟环境,勾选创建脚本。
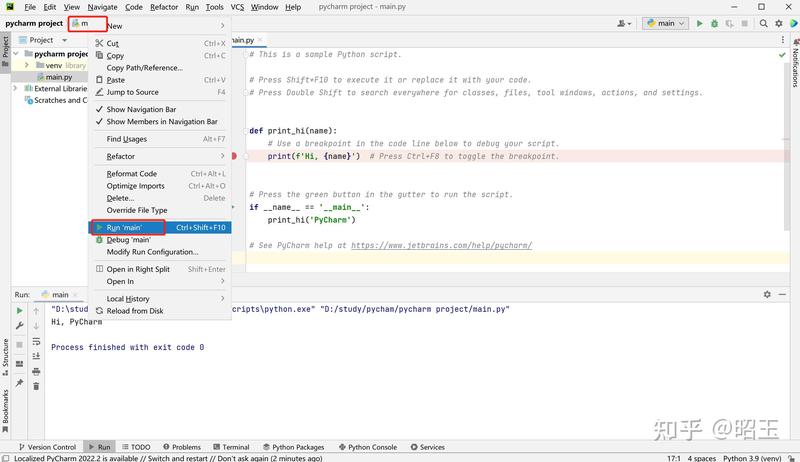
5.进入pycharm主界面,鼠标右键点击“main.py",点击”run main“运行,输出”Hi,pycharm“运行成功。