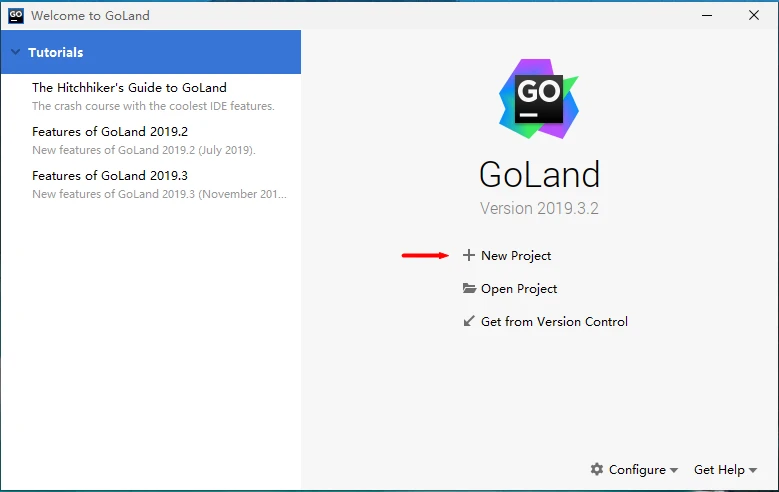
Window10 Goland-2019.3.2 安装+破解+常用配置
前往新版连接,https://www.cnblogs.com/nickchou/p/.html
关于golang的开发IDE一般常用vscode和goland(推荐用Goland,在功能集成性上的速度和便捷度都非常好)
一、下载Goland
官网地址:https://www.jetbrains.com/go/
迅雷下载:https://download-cf.jetbrains.com/go/goland-2019.3.2.exe
二、下载注册补丁(pojie)(不需要改Host)
下载地址:https://sigusoft.com/s/1FrpavOrzkzLDYShndnqRZQ 提取码 2c4t
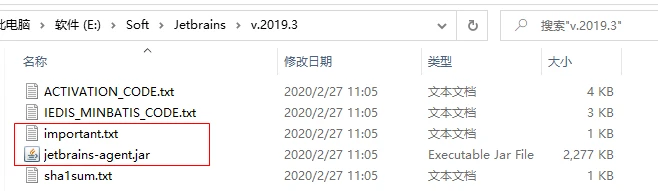
下载并解压到指定文件夹(文件路径避免中文),注意必须要包含jetbrains-agent.jar和important.txt2个文件,如图:
如果补丁下载有问题,请详见作者博客 https://sigusoft.com/
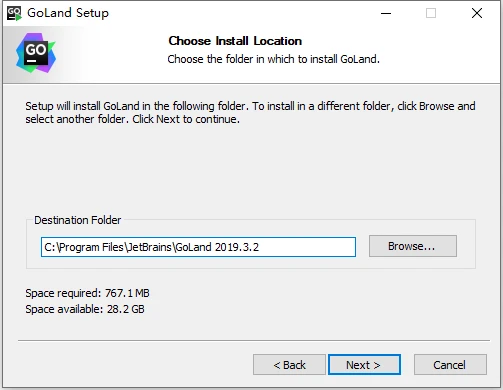
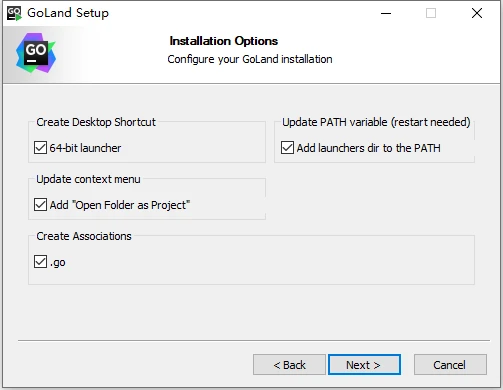
三、安装Goland
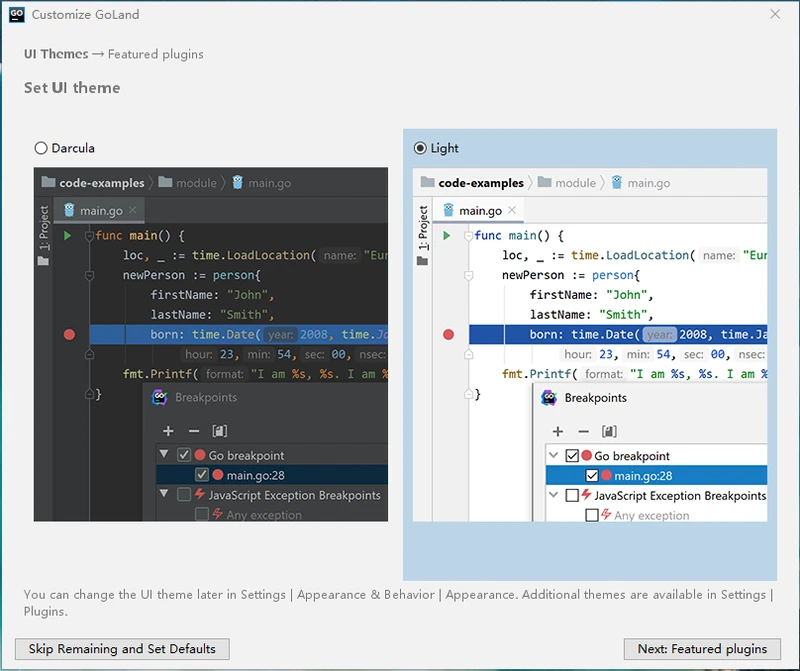
选择Skip Remaining and Set Default
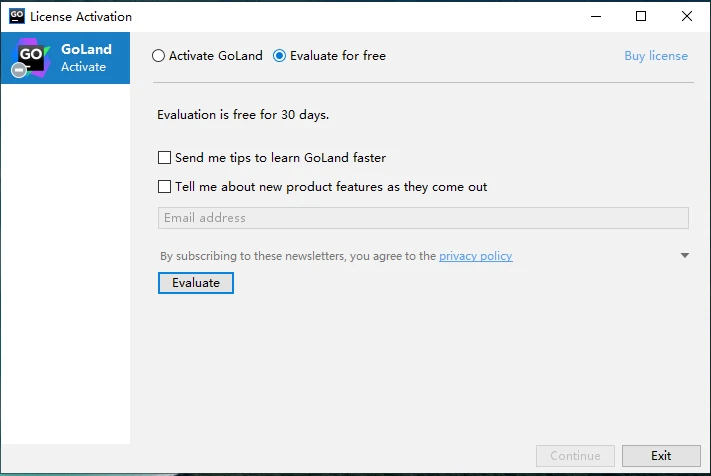
选择试用,点Evaluate
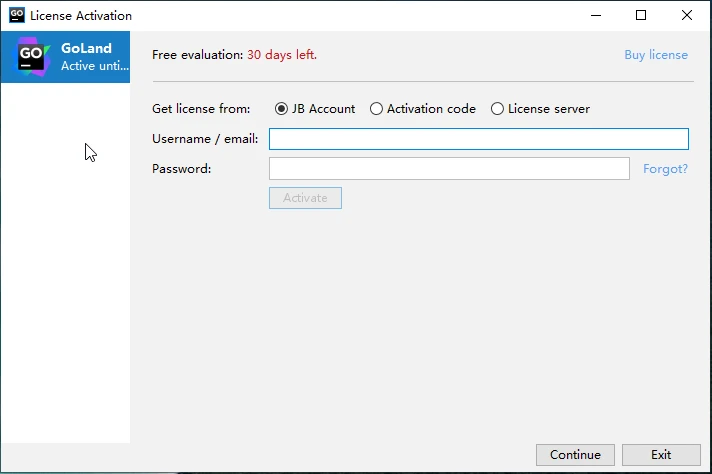
点击Continue
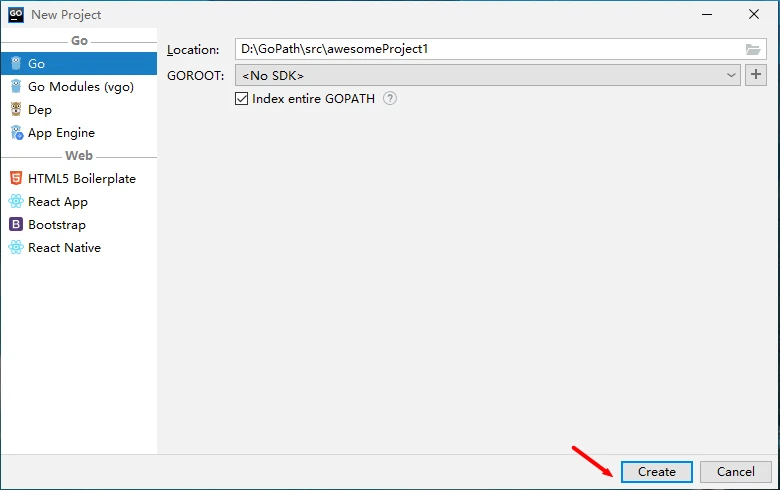
创建一个空项目
点击创建
点击菜单栏:Help->Edit Custom VM Options...
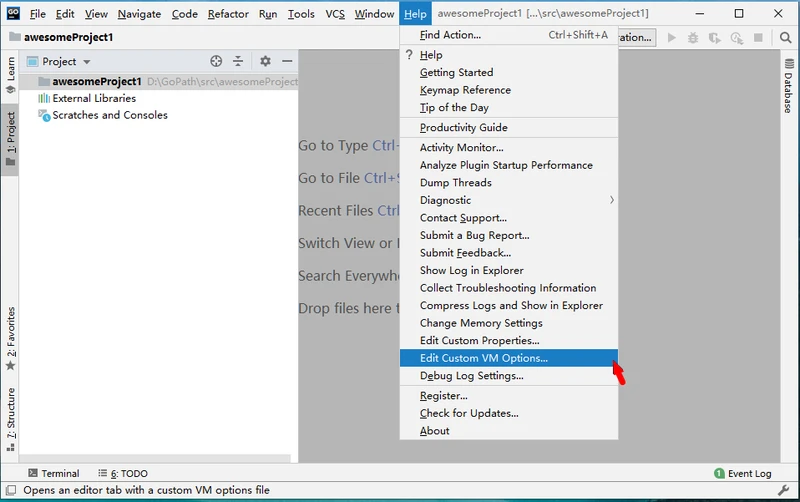
提示是否创建goland64.exe.vmoptions,选择Create

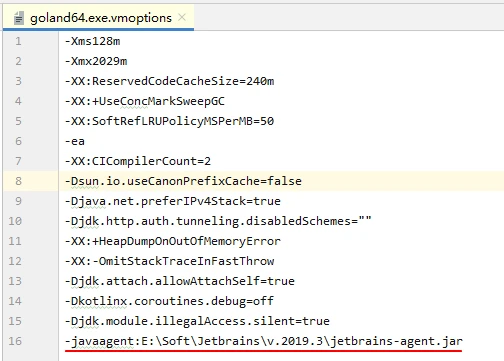
在文件最后一行加上补丁配置,路径改成自己的
然后重启下Goland
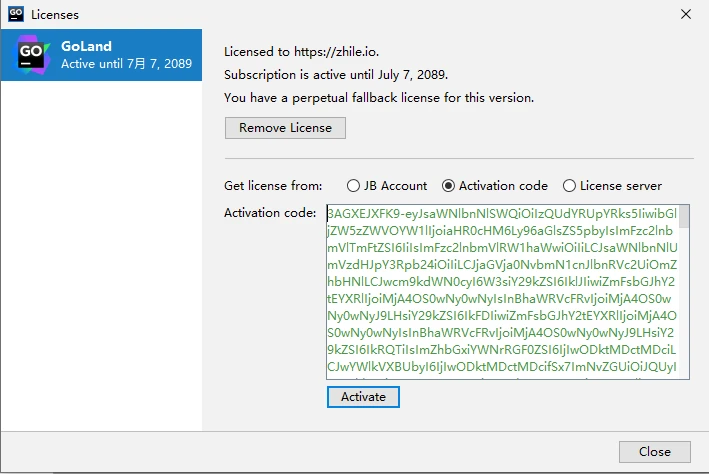
重启后再次点击 Help->Register,从ACTIVATION_CODE.txt在复制激活码到Avtivation code中,激活即可,如图适用于2019.3.3及以下的版本,不要升级2019.3.4
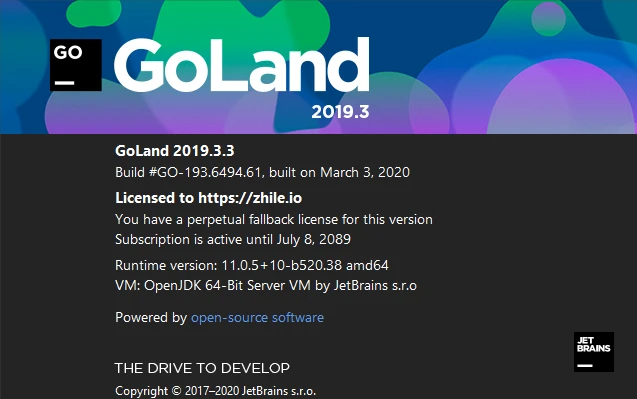
三、完成安装+破解
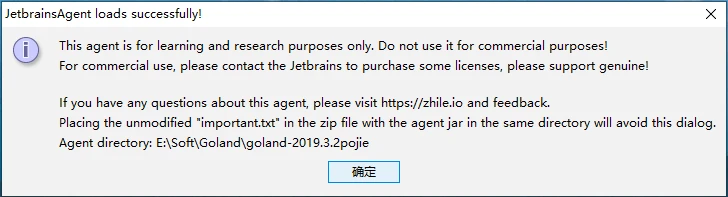
如果出现下面提示,回到步骤二看下,把下载的补丁包里未经修改的important.txt复制到jetbrains-agent.jar的同级目录即可
四、相关配置
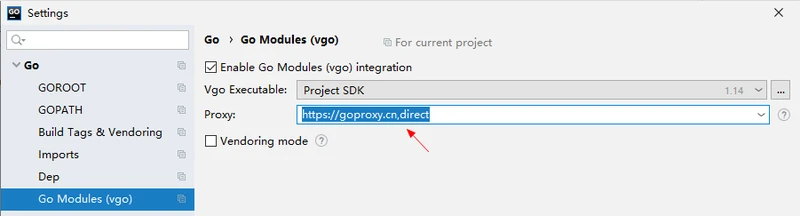
1、实际在项目开发的时候发现一直提示"goland go list -m -json all" 且包也一直提示 Cannot resolve directory,如图:
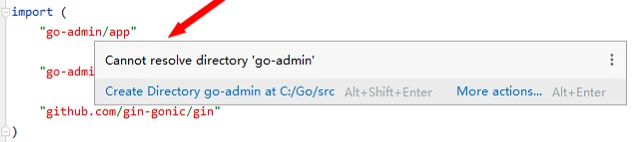
请检查先项目里的Proxy配置(默认值是direct)改为 https://goproxy.cn,direct 即可
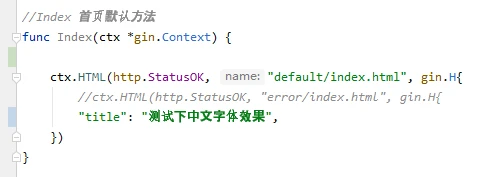
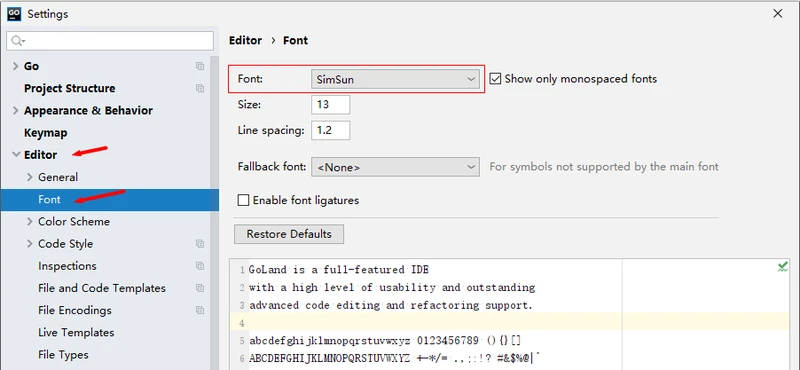
2、默认字体配置对中文支持不好,如图
菜单栏:File -> Setting(快捷键Ctrl+Alt+S),Simsun字体看起来好一些,也可以自行选择
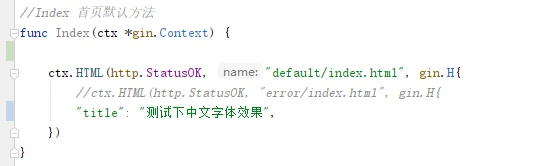
效果图:
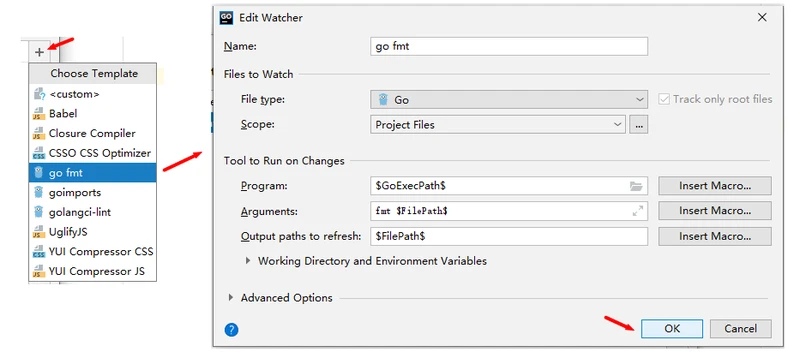
3、保存文件立即go fmt格式化代码
点击菜单栏:File->Settings->Tools->File Watchers->点击 "+"号,选择go fmt,直接保存即可。Ctrl+S后会自动格式化代码
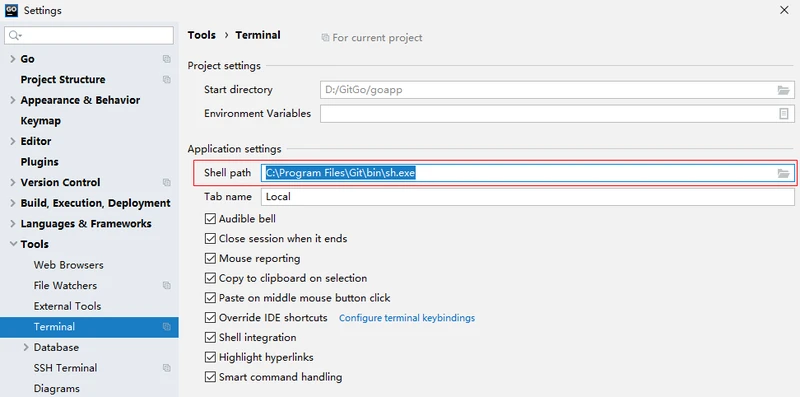
4、Goland的Terminal设置为Git Bash
在File > Settings > Tools > Terminal > Shell_path 中的cmd.exe修改为 C:Program FilesGitbinsh.exe,设置后在Terminal关闭tab再重新新增即可
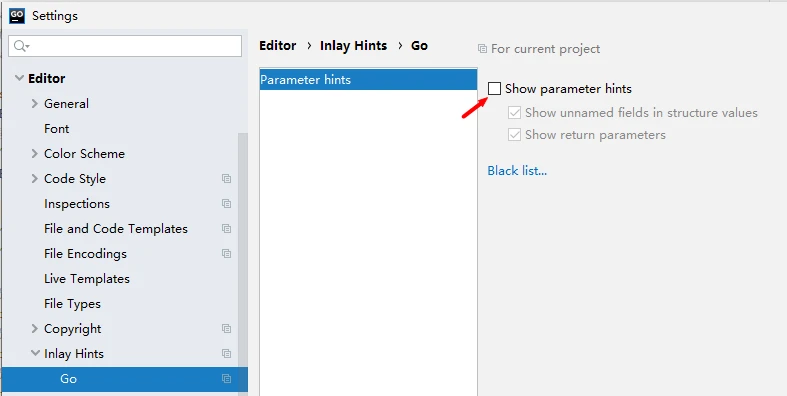
5、取消下图调用方法返回的参数类型,仅针对2019.3的版本

菜单栏:File -> Setting(快捷键Ctrl+Alt+S)-> Editor -> Inlay Hits -> Go,取消Show parameter hits
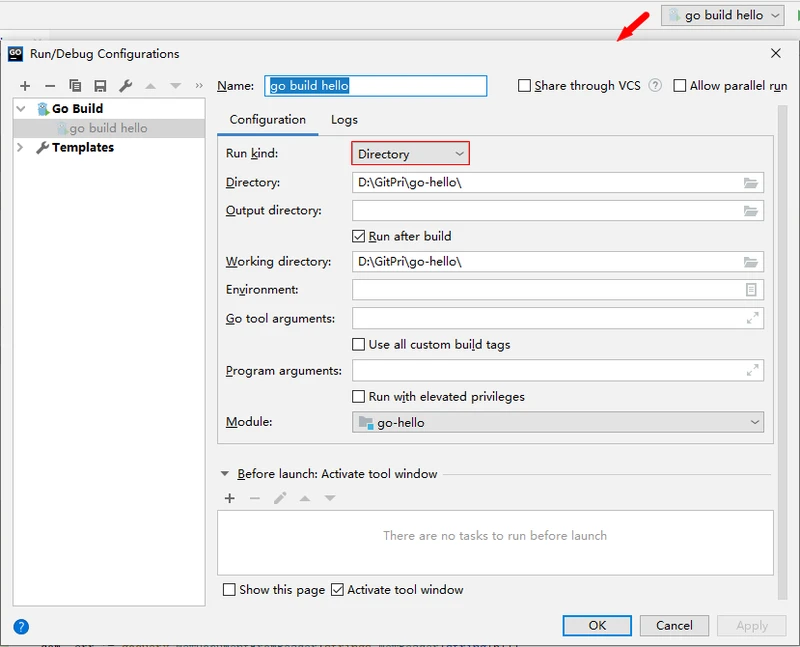
6、编辑运行/调试配置
7、设置Ctrl+鼠标滚轮调整字体大小

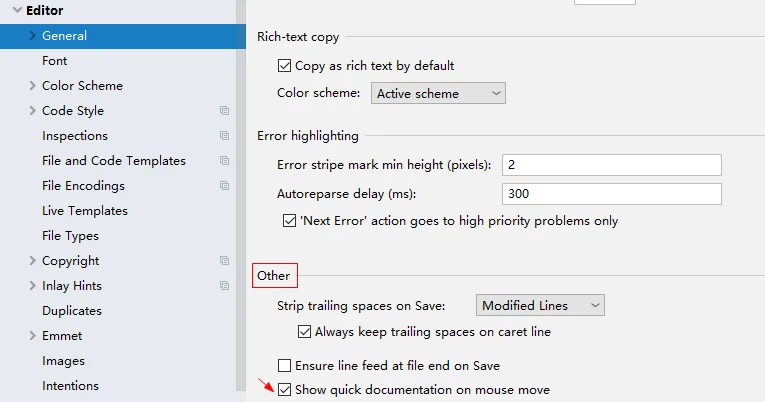
8、设置鼠标悬浮显示文档
File -> Setting -> Editor -> General -> 找到Other下面的"Show Quick document on mouse move"
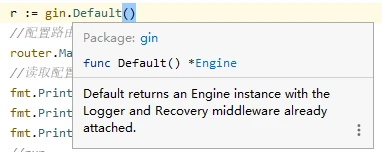
效果如下:
五、部分快捷键
说明
快捷键
转到定义
Ctrl+B
返回定义
Alt+方向左键
重命名文件or文件夹
Shift+F6
显示注释文档
Ctrl+Q